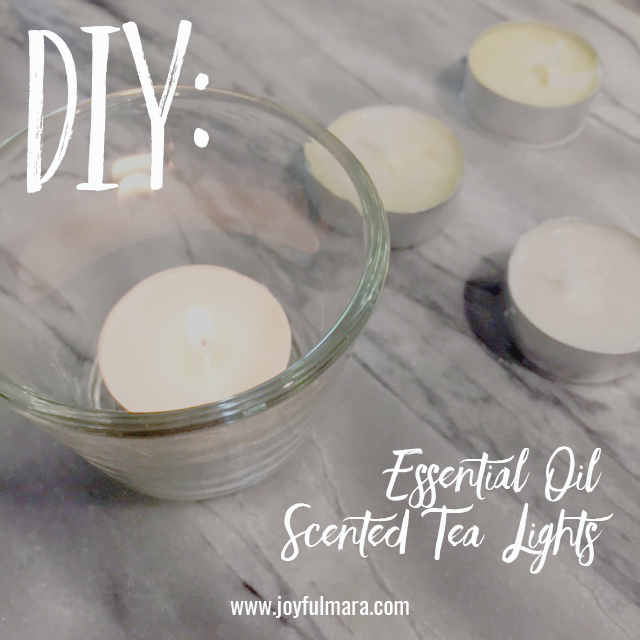
Most of the time, I will blend oils together in our essential oil diffuser and the house smells amazing! But I've been longing to make a few candles using my favorite scents that I can bring with me when I travel or even give as a gift. That's when I remembered a DIY trick I once saw for adding botanical decorations to tea light candles. What if I could melt tea light candles and add my own scents? And right then, a new DIY idea was born.
Here are tips for how to create simple scented tea lights using your favorite blend of essential oils.
Step 1:
Preheat oven to the lowest setting. My oven was set on warming at 175 degrees.Step 2:
Place a few tea lights on a foil covered cookie sheet and pop them in the oven for 10 minutes.Step 3:
Prep your mix of essential oils.I made four different candles by using a few pre-made blends (12 drops each), my own mix of lavender and lemon (6 drops each), and eucalyptus and lemon (8 drops and 4 drops). You can make them all the same scent or mix them up.
Check on the tea lights to see if they have melted. If not fully melted, give them a few more minutes in the oven.
Step 5:
Remove from the oven and add 10-15 drops of essential oils to the melted wax.Be careful not to wiggle the tray around too much or the wax will spill out of the aluminum holders. If a little bit of wax escapes it's not a big deal, but it will make the tea lights stick to the aluminum foil after the wax dries. Simply peel off the foil and wipe away the excess wax.
Step 6:
Use a toothpick to gently stir the essential oils in. The wick will become loose once the wax is melted, so be careful not to move it too far out of place.
(Side note: On my first attempt, I added food coloring to try and tint the candles, but the water based food coloring did not mix with the wax and I ended up with little pockets of food coloring at the bottom of the candles. It became quite a mess once the wax dried and the food coloring leaked out from the aluminum holder. There may be another way to add color, such as melting crayon shavings into the wax, but take it from me...food coloring is not the way to go.)
Step 7:
Let the wax cool and become solid again. If you are working with more than one scent, keep your essential oils nearby to keep track.
(Note: For the safety of those precious essential oils, do not place bottles on the baking sheet while it is still warm.)
Step 8:
Write the scent of the candle on the bottom or side of the aluminum shell in sharpie. Then light and enjoy!
I chose to light the lavender and lemon candle first and it was heavenly! I used 12 drops (6 of each) in this candle and the scent was powerful without being overwhelming.
Depending on the essential oil, the wax may dry to be white or tinted. A few of my candles ended up with a yellowish color and some roughness to the top. Other candles dried white and smooth. If you start to see bubbles or indents forming, consider smoothing the top of the candle as the wax dries. You can also cover any roughness on the top of the candle by adding botanical elements such as lavender buds, bits of cedar or pine, cinnamon stick, or even glitter. Select your decorations according to the essential oil scent.
And there you have it! A simple way to add natural essential oil scents to a plain old tea light. I hope you enjoy making some of your own signature scents or giving a few away as gifts. And please share your scent recipes in the comments below!


